If you are struggling with an activation lock on your second-hand iPhone, you might be looking for a solution to the problem. DNS unlocking is one of the prevalent troubleshooting solutions for iCloud locked device.
DNS bypass is a trick that people have used to get into the iCloud activation lock. In this article, we explain what iCloud DNS bypass is, how it works, and how you can try it out. We will also share an excellent alternative if you do not want to try DNS bypass or it does not work in your case.
Part 1: What Is iCloud DNS Bypass?
DNS stands for Domain Name System, which translates the site address into the IP address. When you buy a new iPhone, you set it up. Your device automatically sends an activation request to Apple’s server. The DNS plays an important role in translating the address.
Similarly, when your device is iCloud activation locked, DNS is involved because it tells the path for the request. Thus, it is possible to bypass the lock by changing the activation path from Apple’s server to another server. iCloud DNS bypass simply means bypassing the iCloud activation lock by changing the server path. This can be helpful if you forget your Apple ID/password or if you have a used device without the previous owner’s credentials.
Pros
- Beginners can easily try DNS iCloud bypass without any hassle.
- It is a free method, and there is no harm in trying it.
- It does not require any third-party tools, software, or anything else.
Cons
- The DNS bypass for iPhone does not always work. It is a trick that might work.
- It only works on iOS 8 to 10.
- Even if you successfully bypass the activation lock screen, you will not have full features of the device. It has limitation.
Part 2. How to Bypass iCloud with DNS?
If you are using iOS 8 to 10, you can give it a try. Follow the steps below.
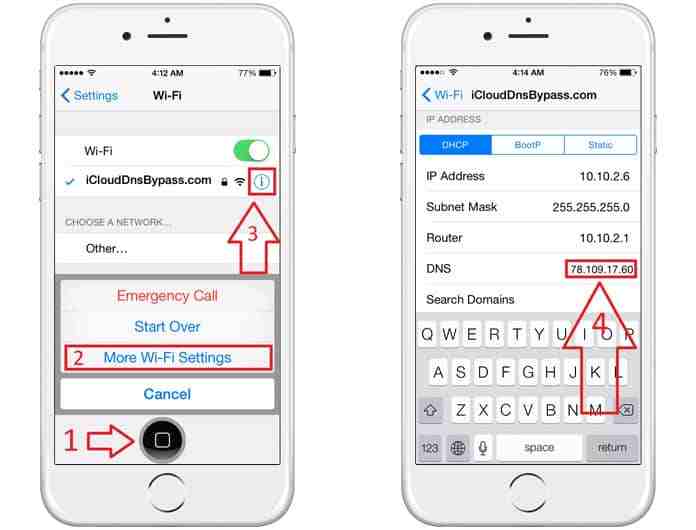
Step 1: If you are on the activation lock screen, back to WiFi Settings page and press the home button. You will have three options. Tap “More WiFi Settings”.
Step 2: Connect to your WiFi. Hit “i”. Scroll down and tap “Configure DNS”. Tap Manual. Tap Add Service and paste the DNS IP address with any of the following according to your location. Save your edits. And back to WiFi settings page.
- USA: 104.154.51.7
- South America: 35.199.88.219
- Europe: 104.155.28.90
- Asia: 104.155.220.58
- Australia and Oceania: 35.189.47.23
- Other continents: 78.100.17.60
Step 3: Reboot iPhone. Connect to the WiFi again, then you can see a log in page. Now, you can access your iPhone features.
Part 3: Best Alternative to iCloud DNS Bypass without Apple ID
We’ve seen how to bypass iCloud using DNS, but it offers limited features and does not work on all devices and latest iOS versions. To better help you with this problem, this article has found you an alternative to DNS bypass.
FonesGo iCloud Bypass Tool is an ideal alternative to the DNS bypass activation lock. It’s a complete unlocking tool for the iPhone, iPad, and iPod Touch. You do not have to enter your Apple ID, password, serial number, or anything else. It can unlock your device without any conditions. It combines jailbreaking and iCloud activation lock removal in one tool, making the whole process a lot easier.
Key features:
- No Apple ID & Password: Get around Activation Lock and iPhone Locked to Owner screens with a few clicks.
- Easy and Quick: Anyone can use FonesGo iPhone Unlocker without any prior knowledge. Just follow the simple steps and unlock your device in a few minutes.
- All-in-one Tool: It is a complete unlocking tool for iCloud activation lock, screen passcode, MDM lock, screen time passcode, Apple ID, etc.
- iOS Compatibility: It works on iOS 12.0 to 16.7.
- Excellent Success Rate: The specific technology allows it to remove the lock of any kind in no time and ensure excellent success.
Next, a guide to the FonesGo iPhone Unlocker, the best alternative to iCloud DNS bypass, is presented.
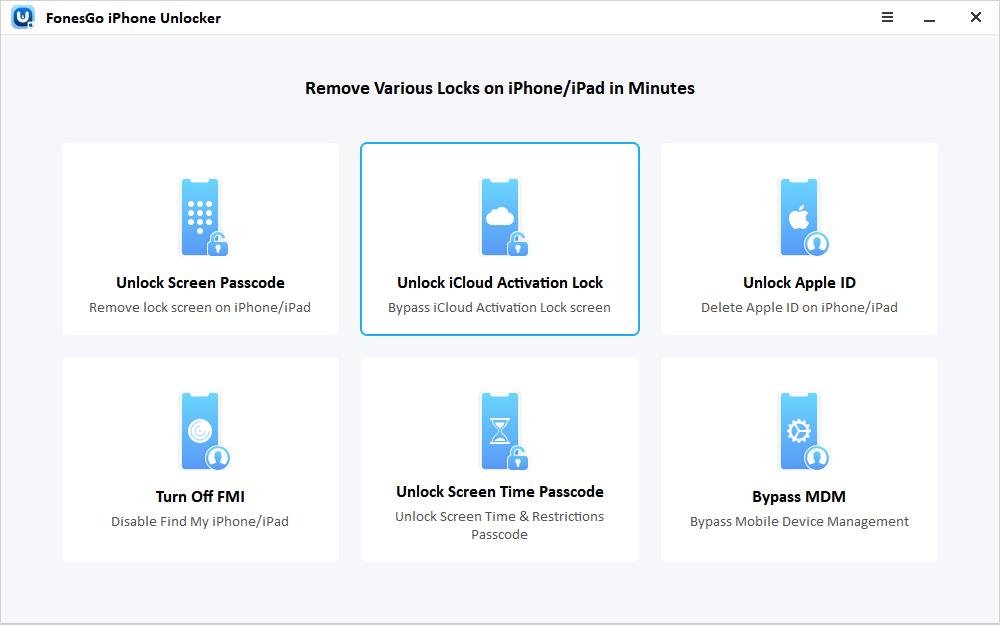
- Step 1 Connect your iPhone. Now, open the tool and click on the “Unlock iCloud Activation Lock” option.
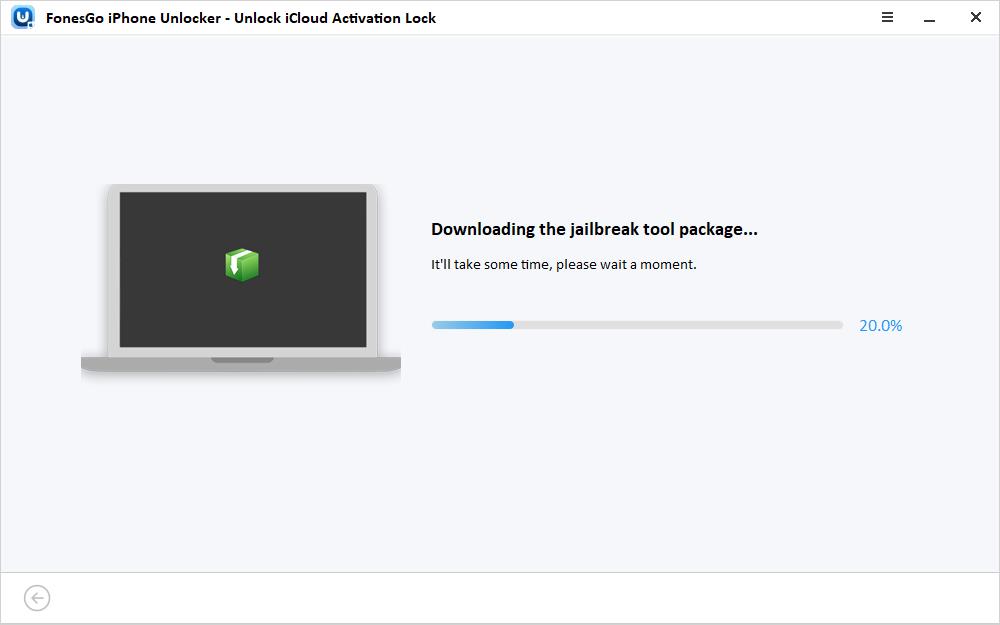
- Step 2 The tool will start downloading the firmware package according to the device you have. Wait for a few minutes.
- Step 3 After that, you will see a new screen. Hit Remove Now. The next step is to put your device in DFU mode by following the on-screen steps. The tool will automatically start the jailbreaking process.
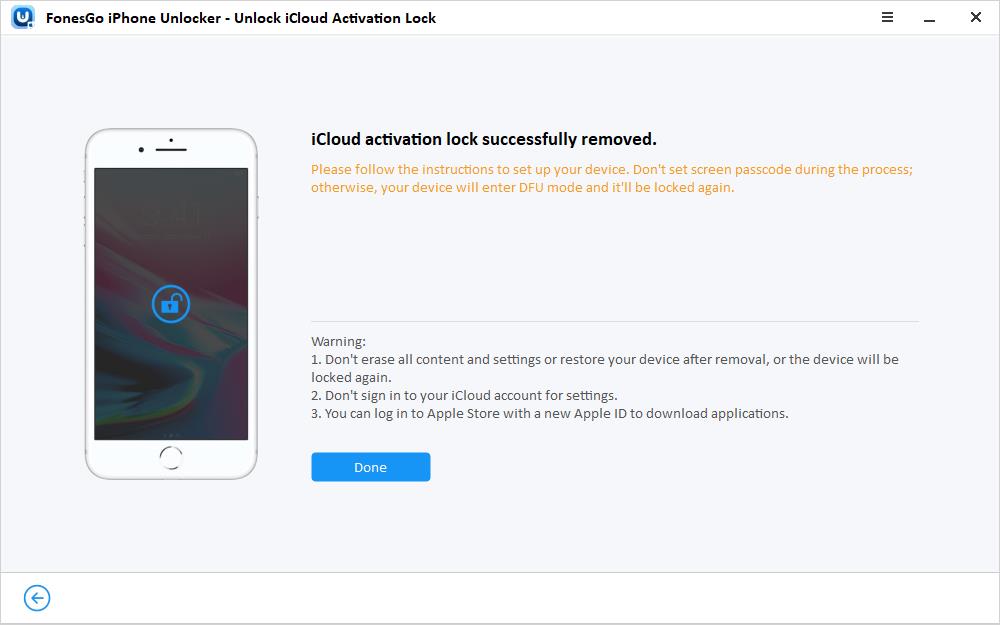
- Step 4 Once the jailbreak is complete, you need to put the device in DFU mode again. Then, click Next. The tool will start removing the iCloud activation lock, only a couple of minutes spent.

Part 4: FAQ about DNS Bypass
Q1. Is it free to use?
Yes, DNS bypass is completely free. It’s a trick iPhone users can try by entering a customized DNS IP. There are no third-party tools or software involved.
Q2. Why is the iCloud DNS bypass not working on the iPhone?
This is a trick that works on selected iOS versions, from iOS 8 to 11. It does not work on the latest iOS versions. Secondly, the DNS address you enter is sometimes not available, so you get an error. You can try another IP.
Q3. Can DNS bypass work on iPhones without a SIM card?
Yes, you can use the iCloud bypass server DNS method without a SIM card. You only need to get connected to a Wi-Fi network.
Conclusion
The iCloud DNS bypass is helpful in bypassing the iCloud activation lock on older iOS versions. It is a quick way to bypass the lock, but the features of the phone are limited. For better results, you can use FonesGo iPhone Unlocker. The tool is specifically developed for removing iPhone locks, especially the iCloud activation lock. Just connect your device and follow a few simple steps, then you can bypass the activation lock without Apple ID, which makes it the best option.

