Navigating through the digital terrain has never been more intuitive and customized, thanks to the seamless integration of GPX files with Google Maps. This article offers an insightful exploration into the world of GPX file Google Maps usage, guiding you through the steps to import, convert, and navigate using GPX files for an enriched mapping experience. Whether plotting your next adventure or curating detailed travel routes, learning how to adeptly handle GPX files in Google Maps in 2026 opens up a realm of possibilities for personalized navigation and exploration.
GPX File: What Is GPX
A GPX file, standing for GPS Exchange Format, is a type of XML file designed to facilitate the sharing and transfer of geographical data, including waypoints, routes, and tracks, between GPS devices and mapping software. Developed as an open standard, GPX files are universally compatible, making them an invaluable resource for anyone looking to map out their journeys with precision and flexibility.
The essence of a GPX file lies in its ability to store detailed information about geographical locations and movements. For hikers, cyclists, runners, and travelers, GPX files serve as digital breadcrumbs, marking the trail from start to finish. These files can include the latitude and longitude of specific waypoints, the elevation of paths traveled, and even the speed at various points along the route.
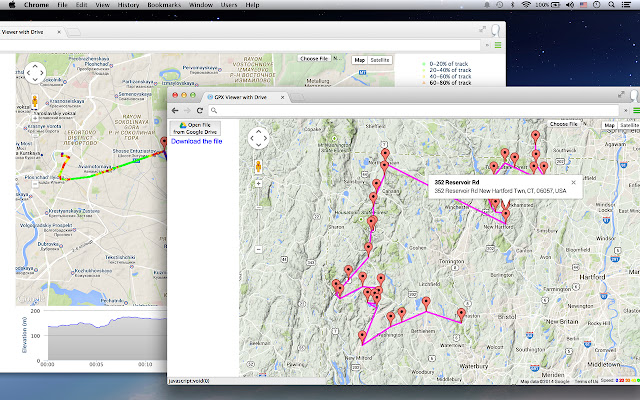
GPX files offer unmatched versatility and compatibility in the realm of digital navigation. Whether you’re planning a trek through remote wilderness areas, setting up a scenic bike route, or organizing a city tour, these files allow you to pre-plan your adventure, share your journey with others, or even retrace your steps with precision. When combined with Google Maps, GPX files unlock a world of detailed mapping and personalized navigation, enabling users to visualize and follow their paths on a globally recognized platform.
How to Import GPX Files into Google Maps
Wondering how to open GPX files in Google Maps? By Importing them to Google Maps. Importing GPX files into Google Maps is a straightforward process that empowers users to overlay their custom routes onto the platform for seamless navigation.
Follow these simple steps to effortlessly import GPX files:
- Step 1. Sign in to Google My Maps: Access Google My Maps using your Google account credentials.
- Step 2. Create a New Map: Click on the “Create a New Map” button below the Google My Maps logo.
- Step 3. Add Layer and Import: Select “Add Layer” and then “Import” from the left-hand menu.
- Step 4. Upload Your GPX File: Choose the option to upload your GPX file and let Google Maps automatically update your waypoints.
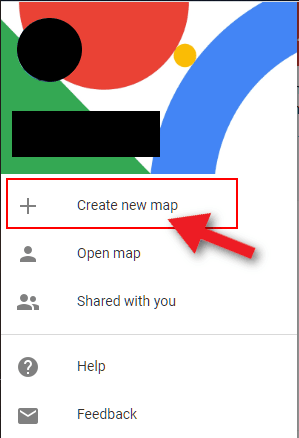
By these steps, you can seamlessly integrate your GPX files with Google Maps, unlocking a wealth of customization and navigation options. Whether planning a hiking trail, biking route, or road trip, importing GPX files to Google Maps enhances your mapping experience and empowers you to explore with confidence. Import GPX to Google Maps effortlessly and embark on your next adventure with precision and ease.
How to Convert Google Maps to GPX File
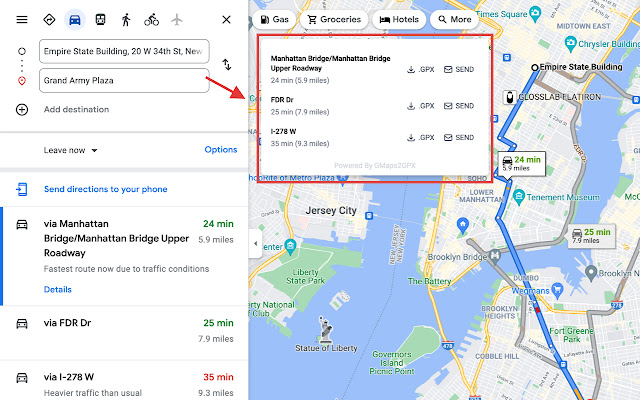
Converting Google Maps to a GPX file allows users to preserve their custom routes and waypoints for use in various GPS devices and mapping applications. Follow these steps to effortlessly convert Google Maps to a GPX file.
- Step 1. Open Google Maps: Access Google Maps in your web browser and input your desired locations or routes.
- Step 2. Access Maps GPX: Visit the Maps GPX website (not Google My Maps) and paste the URL from Google Maps into the provided field.
- Step 3. Initiate Conversion: Click on the “Let’s Go” button to initiate the conversion process.
- Step 4. Download GPX File: Once the conversion is complete, Google Maps will generate a GPX file. Download the file to your device for future use.
How to Convert GPX Files to KML Files
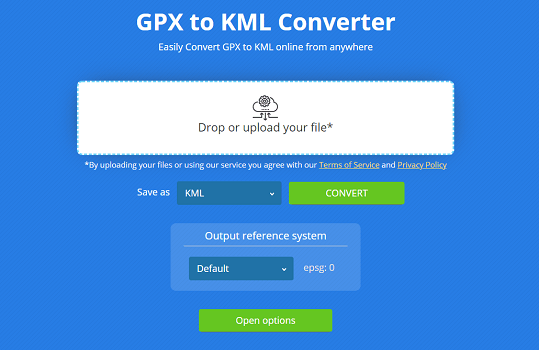
Converting GPX files to KML format enables seamless integration with Google Maps and other mapping applications that prefer KML files. Follow these steps to convert GPX files to KML format:
- Step 1. Access Online Converter: Navigate to anyconv.com or any other online GPX to KML converter of your choice.
- Step 2. Upload GPX File: Upload the GPX file you wish to convert by clicking on the “Choose File” button.
- Step 3. Select Output Format: Choose KML as the output format for conversion.
- Step 4. Initiate Conversion: Click on the “Convert” button to start the conversion process.
- Step 5. Download KML File: Once the conversion is complete, the website will provide a link to download the converted KML file.
Unable to Import GPX into Google Maps? Try FonesGo [Easy/Safe]
If you’re looking to open GPX files in Google Maps hassle-free, FonesGo Location Changer is your best bet. With its user-friendly interface and robust features, FonesGo simplifies the process of changing GPS locations and simulating movements on both iOS and Android devices.
Whether you need to teleport to any location, simulate movement along specified routes, or even spoof GPS on multiple devices simultaneously, FonesGo has you covered. Its intuitive design makes it easy for anyone to use, regardless of technical expertise.
FonesGo also offers special features like bookmarking preferred locations and routes, accessing historical records, and setting cooldown timers to avoid detection while using location-based apps like Pokemon Go.
With FonesGo Location Changer, opening how to open GPX files in Google Maps becomes a seamless experience, making it the top choice for anyone seeking reliable GPS manipulation tools.
- Best GPS location changer for iOS devices (No jailbreak)
- Spoof Pokemon Go location on iOS and Android devices.
- Simulate GPS movement directly or use a joystick.
- Change location on up to 15 devices simultaneously.
- Support changing location on most dating and social apps.
How to Import GPX into Google Maps By FonesGo Location Changer
Importing GPX files into Google Maps is a breeze with FonesGo Location Changer. Here is your quick guide:
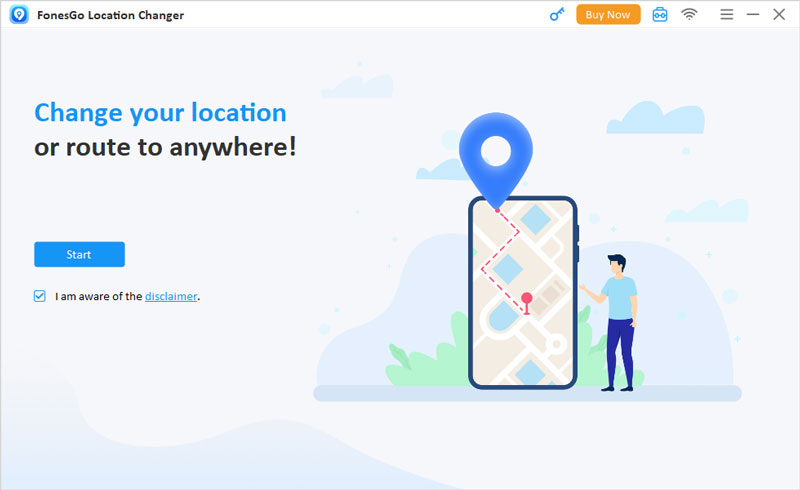
- Step 1 Download and Install FonesGo: Start by downloading and installing the FonesGo Location Changer on your Windows or Mac computer. Once installed, launch the program.
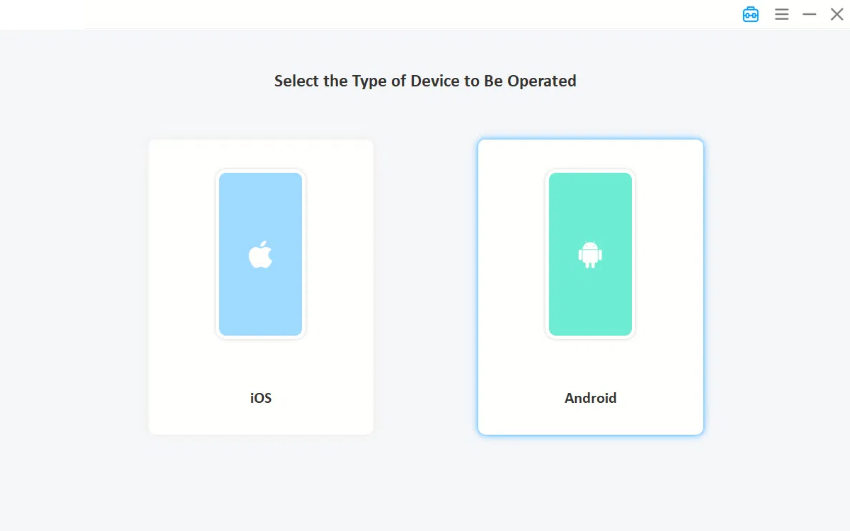
- Step 2 Connect Your Device: Use a data cable or Wi-Fi connection to connect your iOS or Android device to your computer. Follow the on-screen instructions to ensure successful connection.
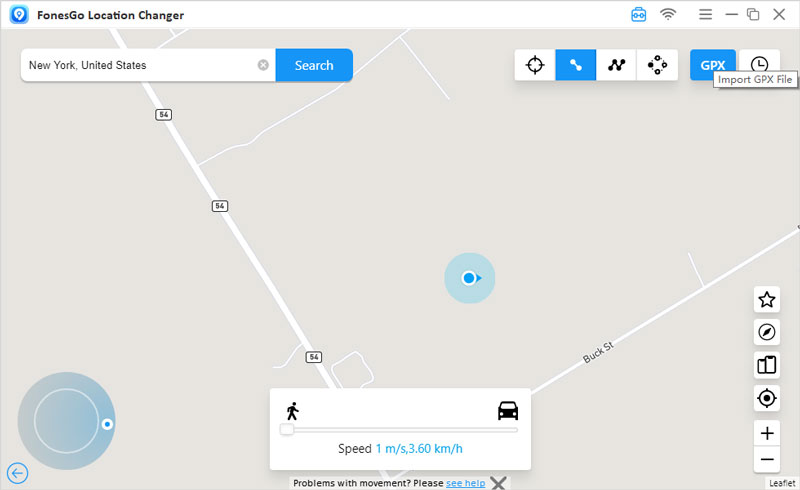
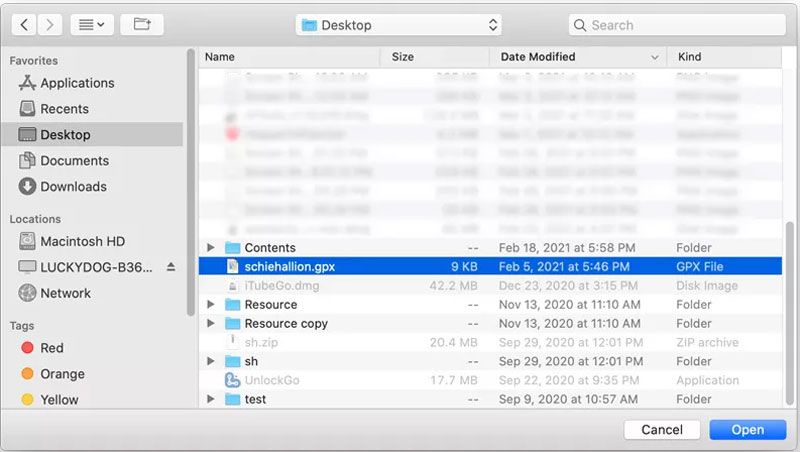
- Step 3 Import GPX File: In FonesGo, locate and click on the “GPX” icon. Choose the GPX file you want to import and click “Open” to start the import process.
- Step 4 Start Using Google Maps: Once the GPX file is successfully imported, you can now use Google Maps to view and navigate your imported data seamlessly.
With FonesGo Location Changer, importing GPX files into Google Maps is quick and effortless, allowing you to make the most out of your location data.
The Bottom Line
Mastering the integration of GPX files in Google Map opens up a world of possibilities for customized navigation experiences. Whether you’re an avid traveler, outdoor enthusiast, or simply looking to explore new routes, understanding how to import, convert, and navigate with GPX files on Google Maps is invaluable. With the seamless functionality offered by FonesGo Location Changer , the process becomes even smoother and more accessible. FonesGo’s user-friendly interface, coupled with its robust features for GPS manipulation, makes it the top recommendation for anyone seeking to harness the full potential of GPX files in Google Maps. Whether you’re importing GPX files for hiking trails, cycling routes, or city explorations, FonesGo ensures a hassle-free experience, allowing you to navigate with precision and confidence.

