Factory Reset Protection is a security feature that’s been available since Android OS 5.1. The FRP lock appears after an abnormal factory reset and the user is required to log in with the associated Google account.
However, even legitimate users can forget about their Google account details. So, the next time they perform a factory reset, the FRP lock appears and leaves them unable to use their device.
There are a lot of different methods to get rid of the FPR, and one of them is Direct Open FRP. So today, we will discuss what the Direct Open FRP bypass is and how you can use it to regain access to your locked device.
What Is Direct Open FRP Bypass?
The “Direct Open FRP” method allows users to remove the factory reset protection (FRP) lock directly! The main reason why this method has become so popular among Android users is that it doesn’t require a computer or any other computer program.
In the Direct Open FRP method, the system settings and installed apps are accessed via different techniques. This includes the talkback feature, a SIM card with a PIN code, and special APK files.
By accessing the system settings and different installed apps, it is possible to bypass the FRP lock and regain access to the device.
In 2025, many popular websites offer direct open apps to get rid of the FRP. This includes FonesGo, iToolab, Mobile Tech, and so on. We highly recommend that you only use reputable websites, as many other websites offer fake or even dangerous apps.
Step-by-Step Guide on Direct Open FRP Bypass
There are many different ways to directly bypass the FRP lock using the APK files or built-in apps. At the end of the day, it depends on the Android OS version and your device brand.
The Mobile Tech website has updated some APK files to support MIUI 13/14. Therefore, in this guide, we’ll focus on how to bypass FRP on MIUI 13/14. Let’s get into it:
- When you see the Google account verification screen, return to the “Connect to network” screen.
- On the “Connect to network” screen, tap on the Add network option. Now, when you tap on the network name field, the keyboard will appear.
- After that, tap on the 4 dots icon present at the top of the keyboard. Next, just scroll down and tap on More to view the keyboard settings page.
- From here, tap on the profile icon on the top right corner and select a different theme.
- This will open a special icon with a message “Share this cool theme!”. Just tap on this icon and then select the ShareMe app.
- Now, enable all the permissions for the ShareMe app, including the option to modify system settings.
- Now, take another Android device and open Google Chrome on it. After that, visit Mobile Tech website to download and install the Activity Launcher and ShareMe.
- Open the ShareMe app on phone #2 and allow all the permissions. After that, tap on the Receive button and then scan the QR code from the phone #2 screen using the phone #1 camera.
- Once the connection is established, tap on the share files button on phone #2. Next, head over to the APK files tab and select the “Activity Launcher.apk” and press the Send button.
- The APK file will now be transferred to the phone #1, which is FRP locked.
- On phone #1, you will receive the “activity launcher.apk” file. Tap on it to install the Activity Launcher app on the device. Once the app is installed, tap on Run.
- In the Activity Launcher app, tap on the search icon and type “second space”. From the search results, tap on .com.multi.securityspace.ui.activityPrivateSpaceMainActivity.
- Next, click on Turn on Second Space and wait until a new space is created successfully.
- Now, tap on Continue and then choose “Using a shortcut” to easily switch between spaces. After that, press the Continue button.
- In the end, skip the option to set the password and allow all the permissions. This process will create a second space on the device.
- Now, reboot the device and wait until it boots up. Once you see the menu, go to Settings > About Phone > Factory Reset. From here, choose the Erase all data and ignore the backup option.
- Once the factory reset is complete, the device will boot up once again. This time, you will notice that the FRP lock is now gone and your device is completely usable once again.
So, if you are searching for a reliable direct open FRP bypass APK, just follow this method to use the Second Space and Activity Launcher.
Pros and Cons of Direct Open FRP Bypass Method
Here’s a list of all the pros and cons of using the Direct Open FRP on an Android device:
- Free: All the APK files and the steps involved in this method are completely free. So, for those who need a free solution to get rid of the FRP lock, it is totally worth giving a try.
- No PC Needed: Some users don’t have access to a PC or just don’t want to connect their phone to a PC. Fortunately, the direct open FRP method allows users to get rid of the FRP without using a PC.
- Complicated: The Direct Open FRP method is complicated, and missing even a single step means you have to do it all over again.
- Doesn’t Support Android 13/14/15: If your device runs on Android 13, 14, or 15, then the Direct Open FRP method will not work. It only supports Android 11, 12, or older OS versions.
- Virus Attack: There is a good chance that you may download the APK file from an untrusted website. This can expose your device to the risk of a virus attack.
- No Guide & Support: If anything goes wrong during the Direct Open FRP method, you will be on your own. There is no official guide or support available at all.
- Low Success Rate: The success rate of this method is very low, even on older Android devices. In addition, you are highly likely to encounter many issues during the process.
Direct Open FRP Bypass Method Not Work? Fixed Here
As you can see, the Direct Open FRP bypass method is very complicated. Additionally, you may meet different issues during the usage. For example, you can’t install or open the Activity Launcher, can’t create the second space, don’t have the option to share the theme, etc.
In that case, you should use a tool that works all the time. The one we want to recommend is FonesGo Android Unlocker. By using this tool, you don’t need to go through the complicated process. You can regain full access to your device within minutes.
Main features of FonesGo Android Unlocker:
- The tool can bypass FRP lock on Samsung, Xiaomi, Redmi, vivo, OPPO, Motorola, and more devices.
- It’s compatible with Android 5-15.
- The user-friendly interface allows you to bypass FRP lock easily.
- It guarantees a high success rate up to 99%.
FonesGo team regularly updates the program to support more Android brands and Android versions. And if you meet any problems during the usage, you can contact the support center for help.
Here’s a step-by-step process on how to bypass FRP on MIUI 10-14 using FonesGo Android Unlocker:
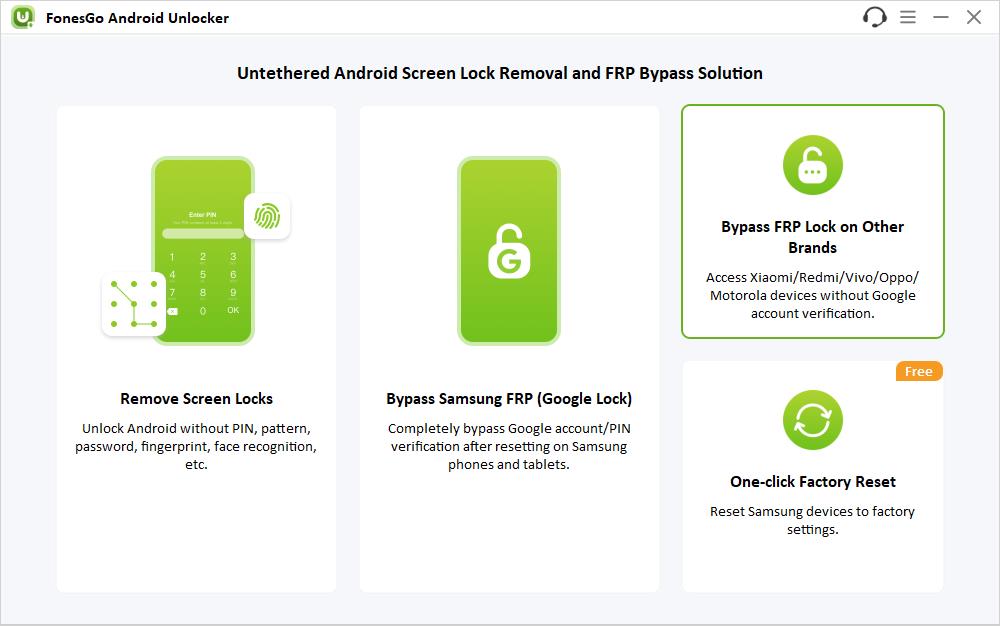
- Step 1 Free download and install FonesGo Android Unlocker on your computer. Once the program is installed, launch it and choose the “Bypass FRP Lock on Other Brands” option.
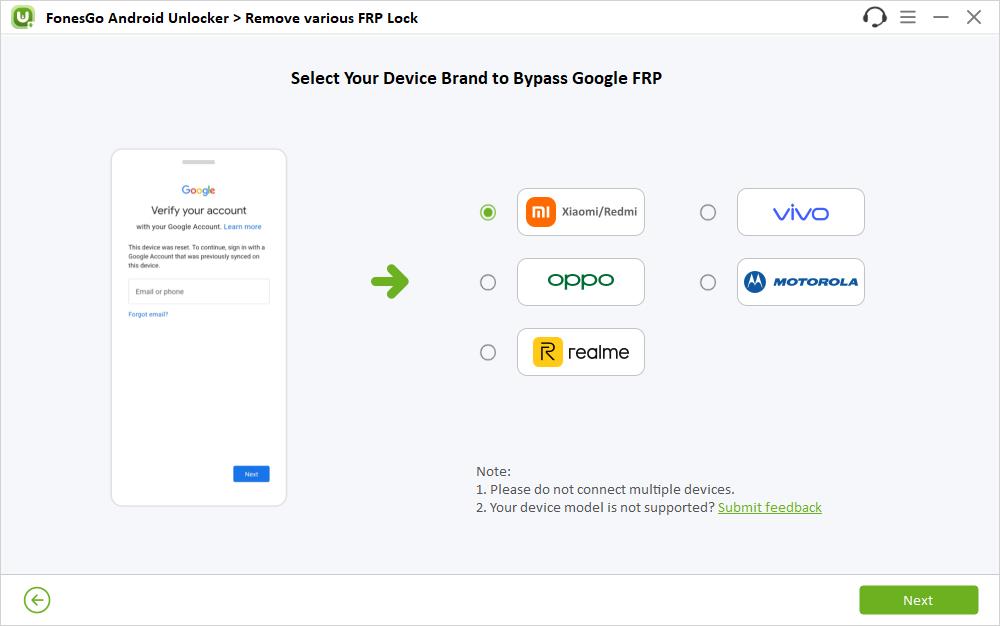
- Step 2 Connect your locked Xiaomi/Redmi device to the computer with a USB cable. As you can see, the tool can bypass FRP on several Android brands. Here, please choose Xiaomi/Redmi.
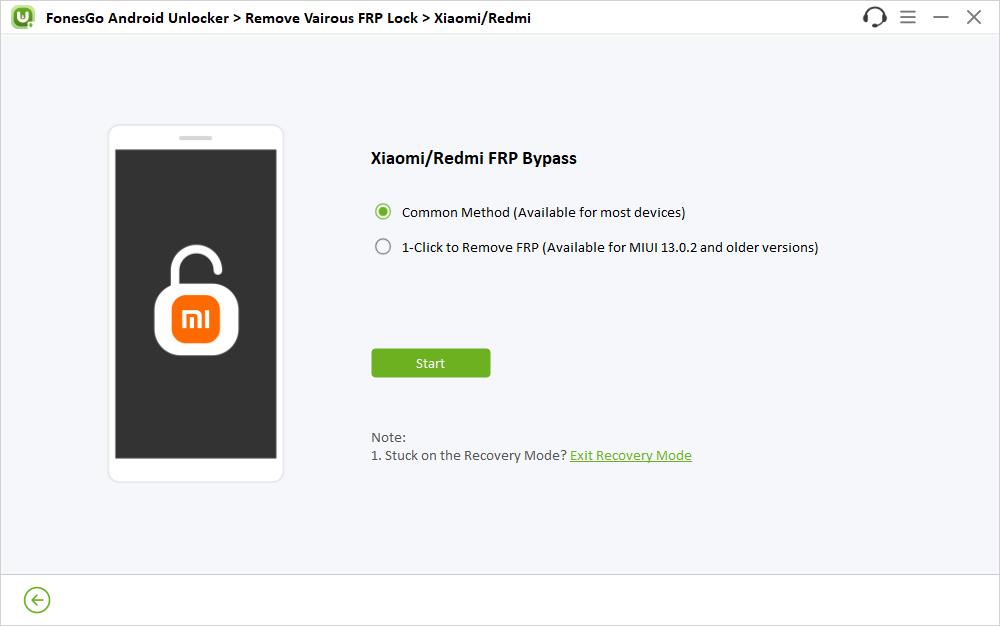
- Step 3 Choose “1-Click to Remove FRP” from the available options on the screen.
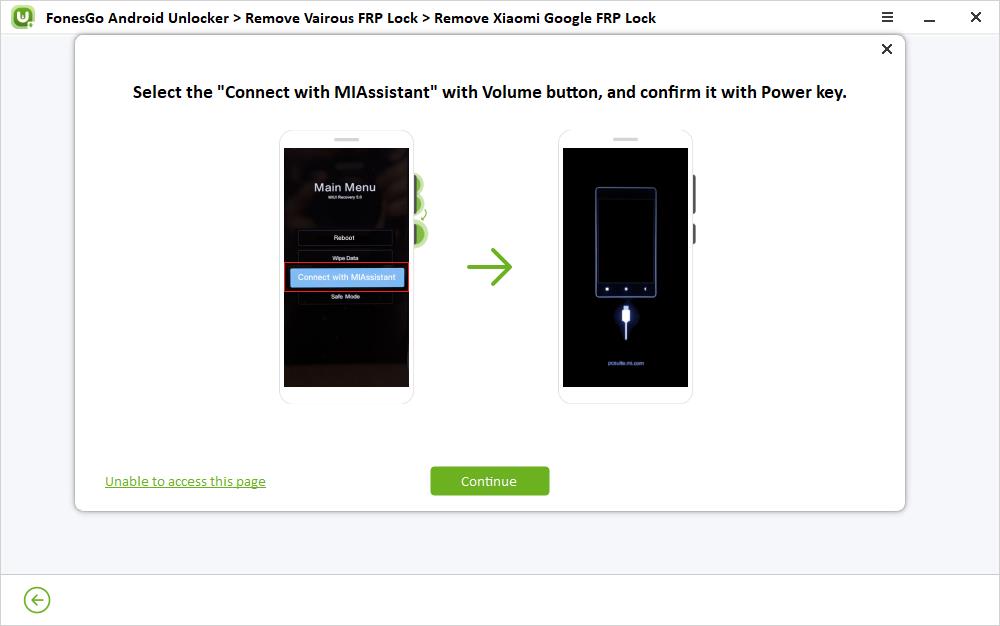
- Step 4 Follow the on-screen instructions to put your Mi device into FASTBOOT mode. Then select “Connect with MiAssistant” using the volume button.
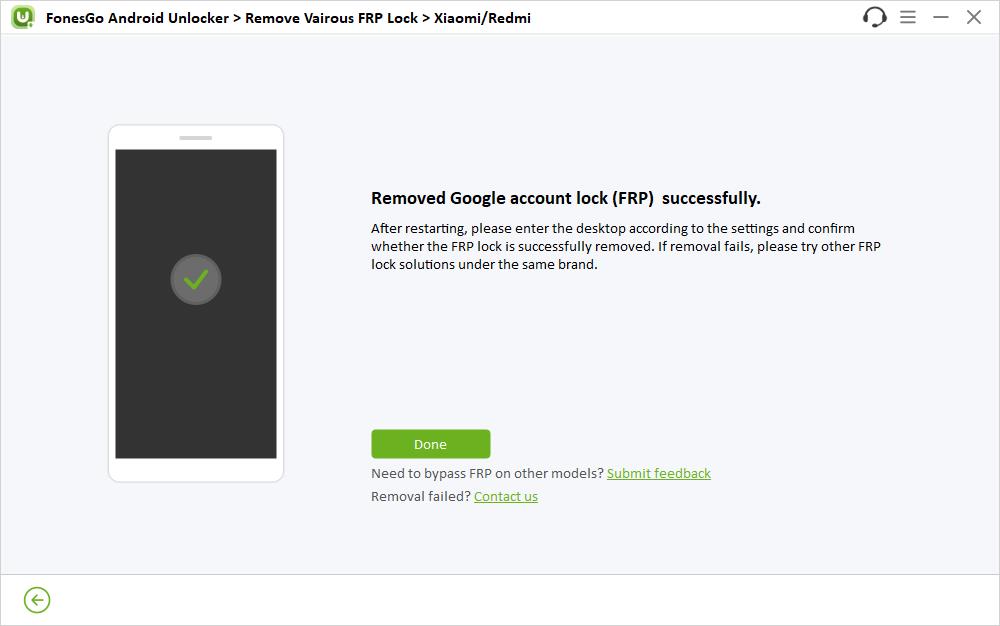
- Step 5 Once done, FonesGo Android Unlocker will automatically remove the Google lock from the device.
Wrap Up
The Direct Open FRP bypass method is a popular option among Android users. The key reason for its popularity is that it doesn’t require a PC and allows users to remove the Google lock via settings and APK files.
However, it is also a reality that the Direct Open FRP method has a low success rate, and it only works on older Android models.
So, if you have a newer Android model or you need a method with a high success rate (99.99%), then you should use the FonesGo Android Unlocker. This tool supports both old and newer Android devices and removes the Google lock within seconds.

