FonesGo Windows Password Remover is designed to help users easily reset or delete forgotten Windows passwords and additionally allows you to delete or create Windows local administrator/user accounts. This detailed guide will guide you through step-by-step tutorials to resolve all password issues in Windows. Note that this process requires a USB or CD/DVD to create a bootable disk.
You can also check the video guide here:
Create A Windows Password Reset Disk
Creating a Windows Password Reset USB will erase all data on your USB, so back it up first.
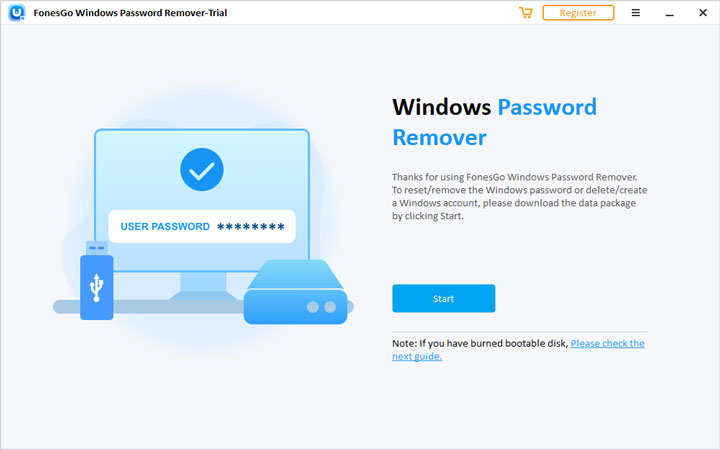
- Step 1 Download and install FonesGo Windows Password Remover on an accessible PC and click “Start” to download the data package. This will take a few minutes.
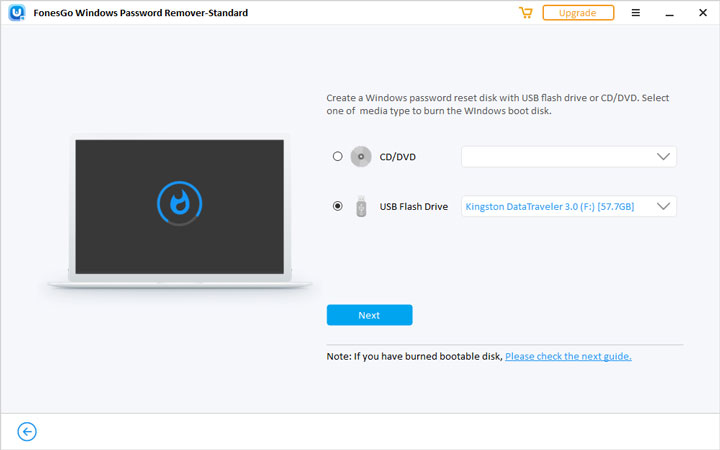
- Step 2 Then insert the USB or CD/DCD and select the appropriate option, click “Next”. This article will use USB as an example.
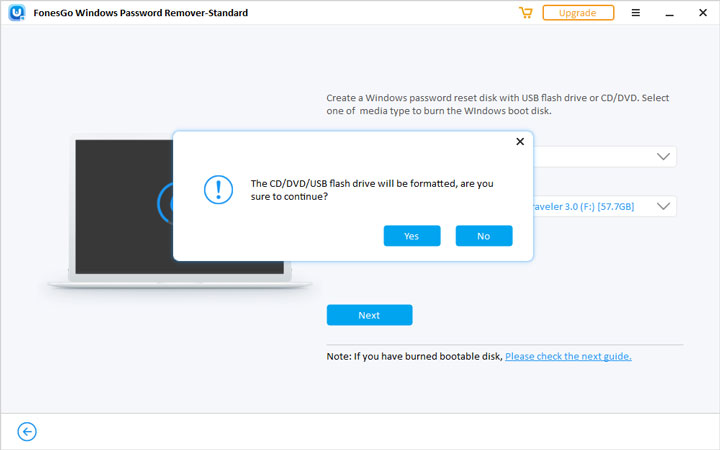
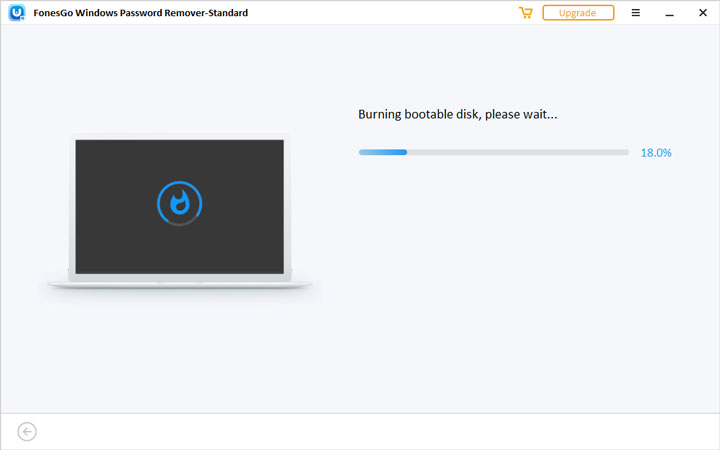
- Step 3 At this point, FonesGo Windows Password Remover will start burning the password reset disk.
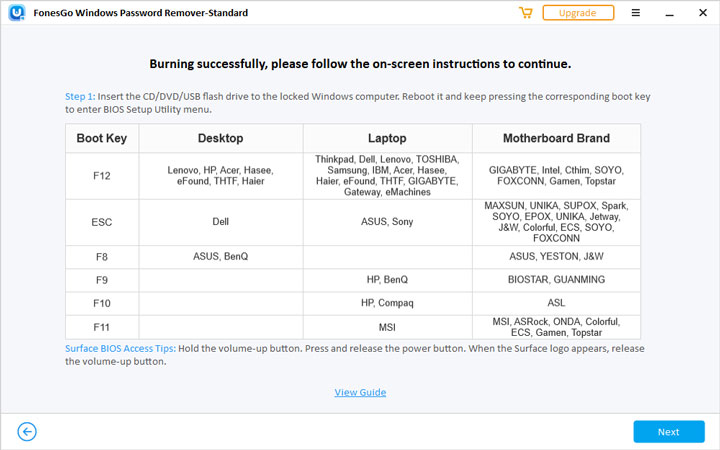
- Step 4 After successfully burning the password reset disk, follow the on-screen instructions to unlock your locked computer.
Boot Locked PC from Burned USB or CD/DVD
Now, follow the detailed steps to restart your locked computer from the password reset disk. Before you begin, you will need to enter the boot key of the BIOS menu on a locked computer.
- Step 1 Insert the bootable USB or CD into the locked computer and then press and hold “F12” or “ESC” (for most computers) to restart the computer to enter the boot menu.
| Boot Key | Desktop | Laptop | Motherboard Brand |
|---|---|---|---|
| F12 | Lenovo, HP, Acer, Hasee, eFound, THTF, Haier | Thinkpad, Dell, Lenovo, TOSHIBA, Samsung, IBM, Acer, Hasee, Haier, eFound, THTF, GIGABYTE, Gateway, eMachines | GIGABYTE, Intel, Cthim, SOYO, FOXCONN, Gamen, Topstar |
| ESC | DELL | ASUS, SONY | MAXSUN, UNIKA, SUPOX, Spark, SOYO, EPOX, UNIKA, Jetway,J&W, Colorful, ECS, SOYO, FOXCONN |
| F8 | ASUS, BenQ | ASUS, YESTON, J&W | |
| F9 | HP, BenQ | BIOSTAR, GUANMING | |
| F11 | MSI | MSI, ASRock, ONDA, Colorful, ECS, Gamen, Topstar |
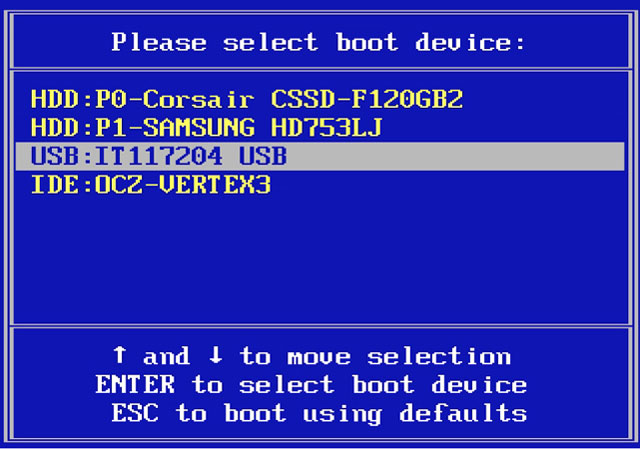
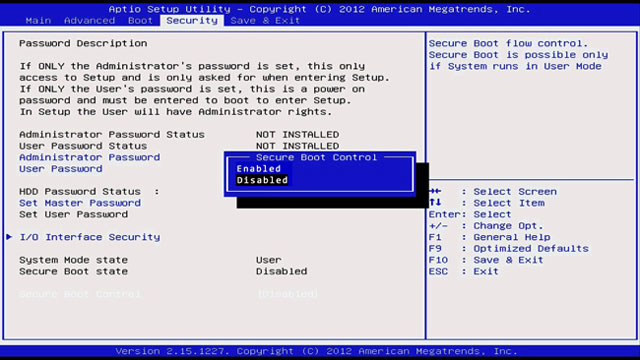
- Step 2 After entering the Boot menu, use the arrow keys to select the Boot tab, then select Boot Device Priority to set bootable USB or CD/DVD. Finally press F10 to save and exit.
How to Reset or Remove Forgotten Windows Password
Your computer will restart again, and after exiting the BIOS menu, you can now start resetting your Windows password. Please note that Microsoft account passwords and RAID server passwords can only be reset.
1. Reset Windows Password
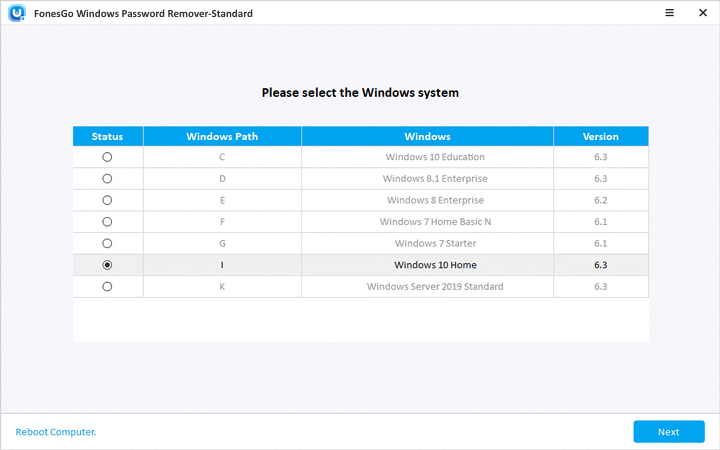
- Step 1 After the computer restarts, you will see the FonesGo Windows Password Remover interface. Select your version of Windows and click Next.
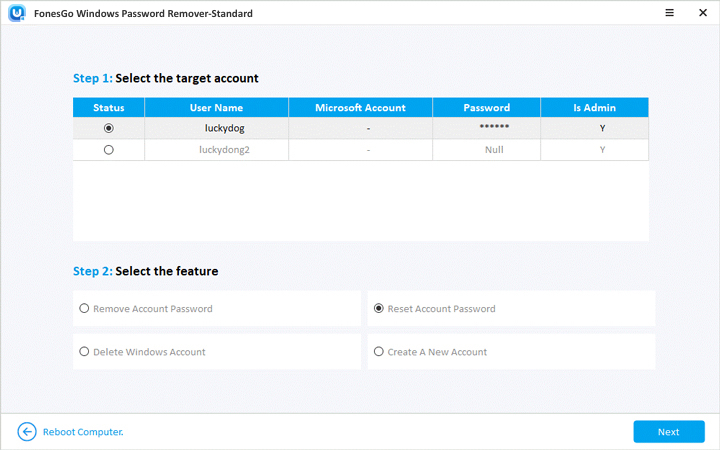
- Step 2 Choose the “Reset Account Password” option and tap “Next”.
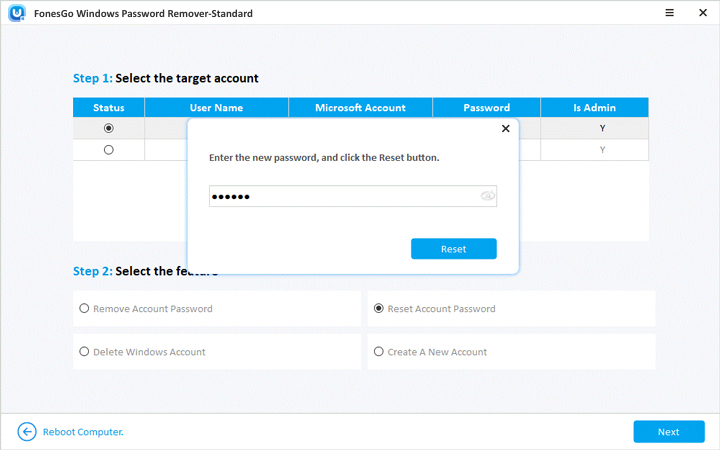
- Step 3 Enter the new password in the pop-up box and click the “Reset” button. Your password will now be reset, click “Restart” to enter your new password to access your computer.
2. Remove Windows Password
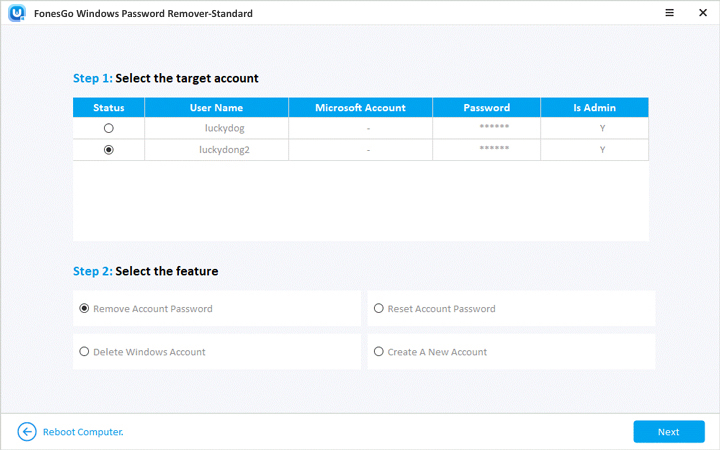
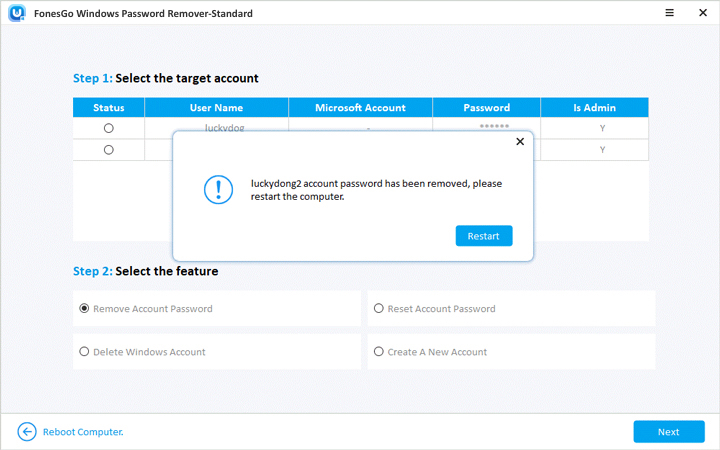
- Step 1 After selecting Windows system, select the “Delete Account Password” function and click “Next”, your account password will be deleted within a few seconds.
How to Delete or Create A Windows Account
Note that deleting a Windows account will clear all data for that account. Additionally, Microsoft accounts cannot be deleted and created.
1. Delete Windows Account
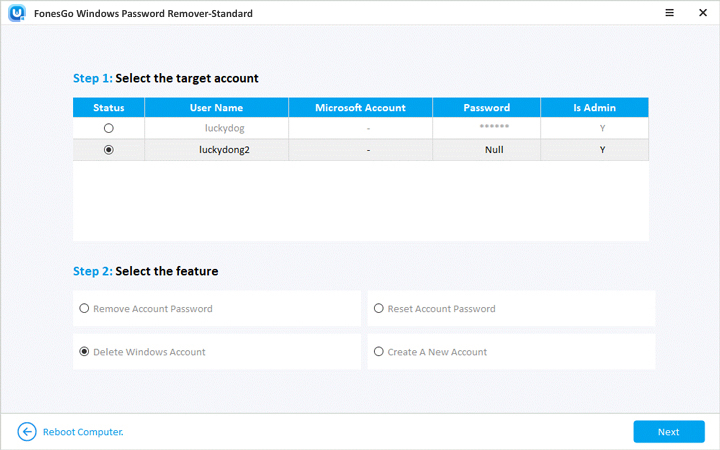
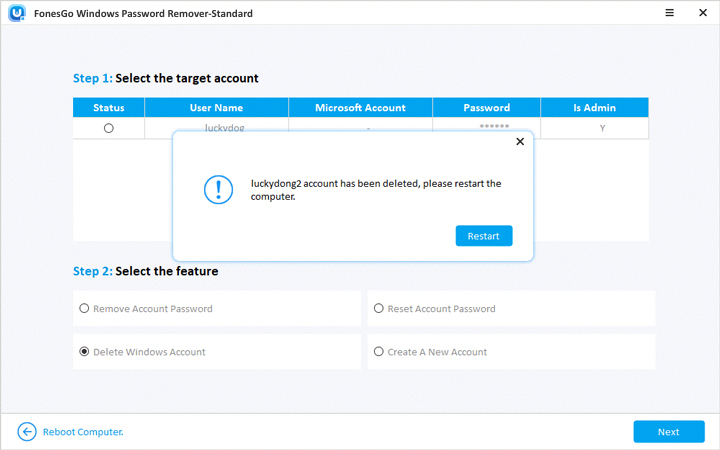
- Step 1 After selecting the Windows system, select the account you want to delete, then tap “Delete Windows Account” and finally click “Next”.
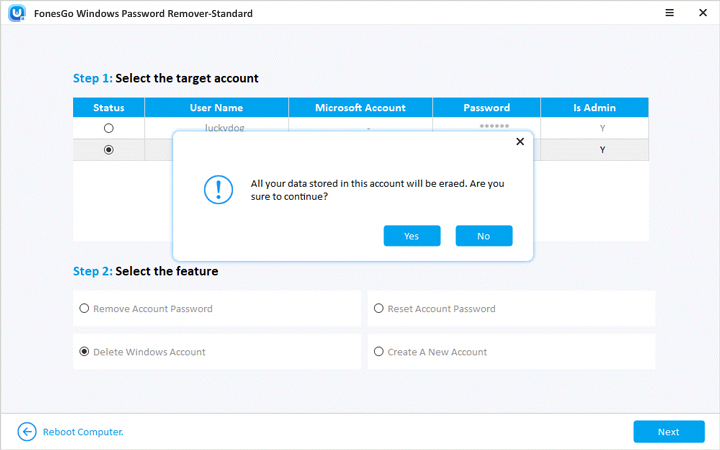
- Step 2 After clicking the “Next” button to confirm the data deletion information, the selected account will be deleted.
2. Create a Windows Account
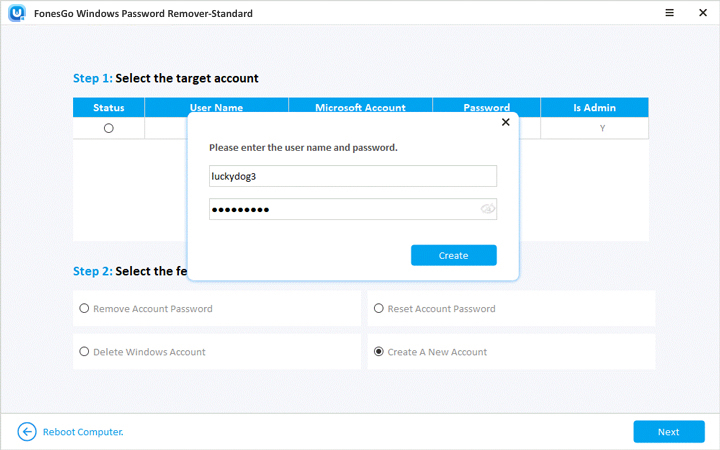
- Step 1 Click “Create New Account” after selecting the Windows version.
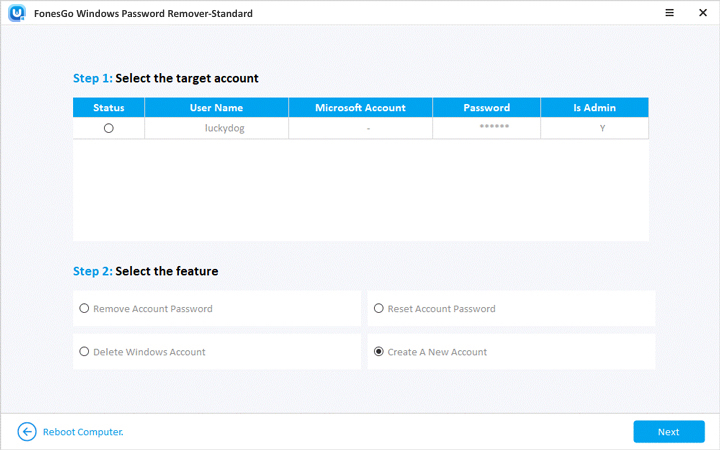
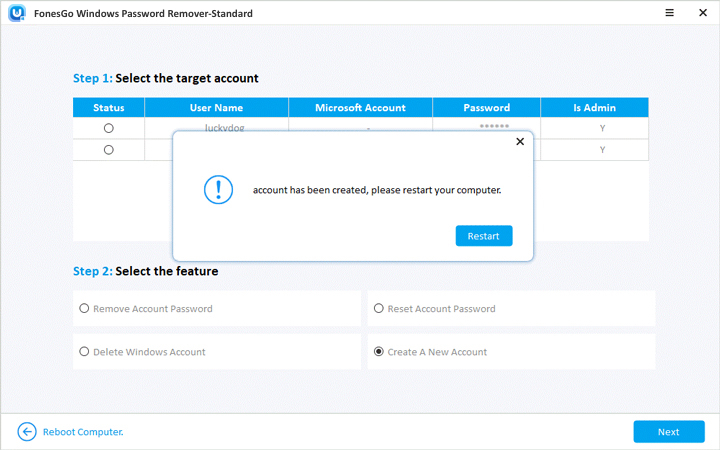
- Step 2 Enter the account name and password to create a Windows account and click the “Create” button.
