FonesGo iPhone Data Recovery is a dependable and efficient tool designed to retrieve deleted data from iPhone/iPad/iPod touch. It can retrieve photos, contacts, notes, and more, even in the absence of a prior backup. It features a user-friendly interface that is remarkably easy to navigate. With just a few clicks, you can effortlessly recover lost data that holds significant value to you. Additionally, the tool offers the option to selectively restore data from iTunes and iCloud backups without the risk of overwriting existing data on your device.
In this guide, we will outline straightforward steps for using FonesGo iPhone Data Recovery. Let’s begin!
Part 1: Recover Deleted Data from iOS Device
If you accidentally delete or lose important photos, notes, or other files on your iOS device and don’t have a backup, the chances of recovery might seem slim. However, FonesGo iPhone Data Recovery makes it possible to retrieve your lost data. Here’s how to use this tool effectively.
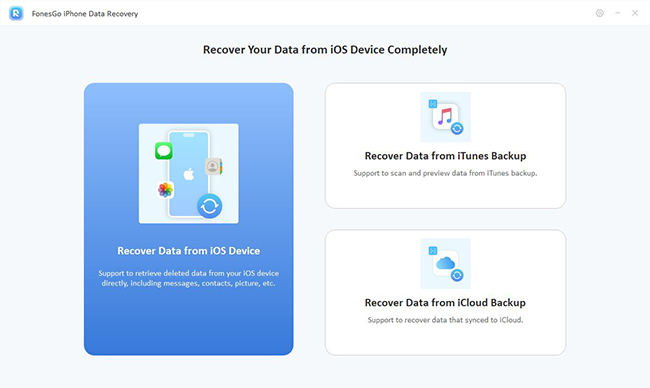
- Step 1 Download and launch FonesGo iPhone Data Recovery. From the main interface, select the ‘Recover from iOS Device’ option to directly recover data from your iOS device.
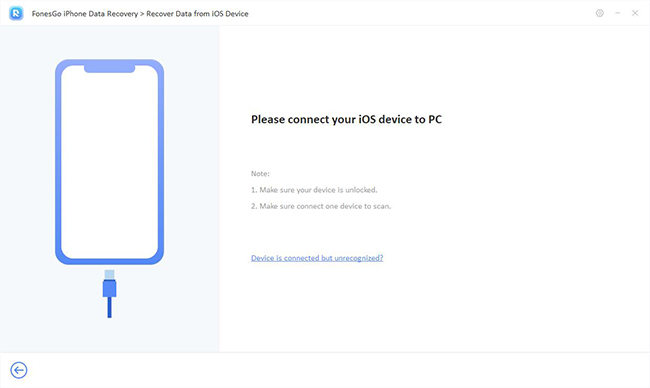
- Step 2 Connect your iOS device to the computer with the USB cable. If prompted on your device, tap ‘Trust’ to proceed.
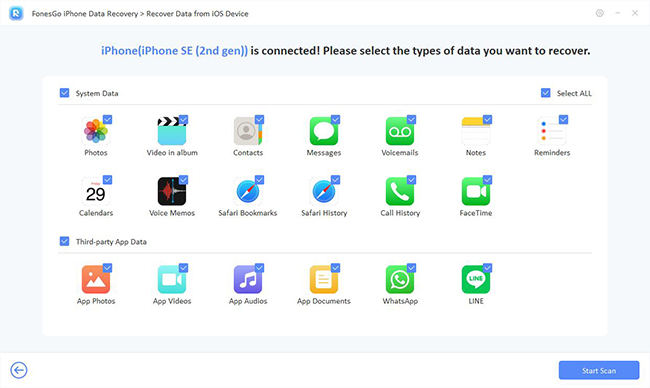
- Step 3 After your device is detected, select the types of data you want to recover and click “Start Scan” to start the recovery process. Data from third-party applications can be found and selected under the ‘Third-party App Data’ section.
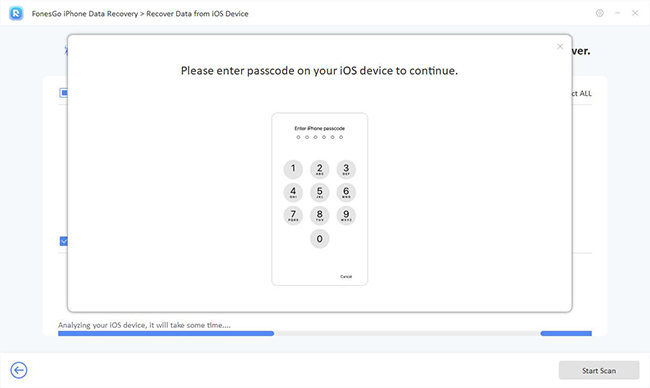
- Step 4 FonesGo will begin analyzing your device to prepare for data extraction. During this process, you may be prompted to enter the passcode on your device. Just enter the passcode to proceed with the recovery.
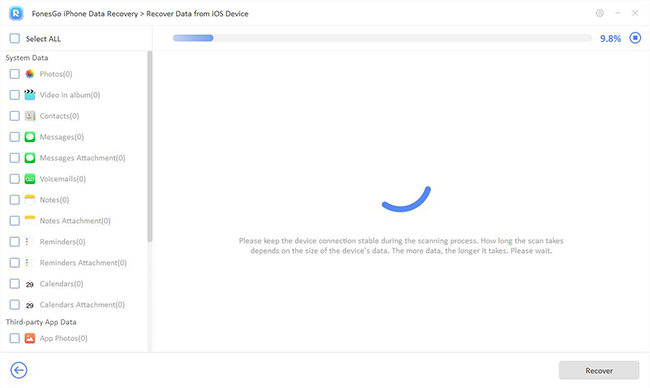
- Step 5 FonesGo will then begin scanning the data. The duration of this scan varies based on the amount of data present, so it may take a while. Please be patient throughout this process.
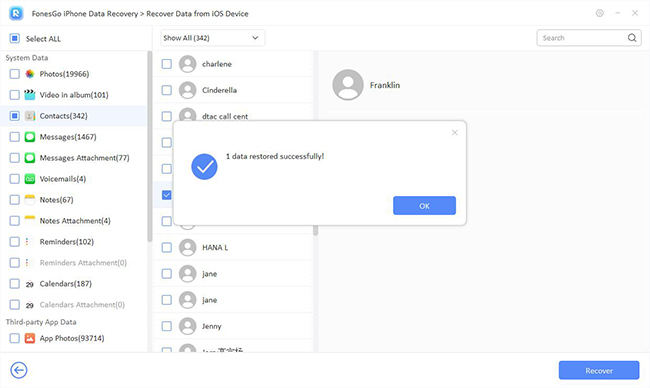
- Step 6 Once you have located the data you wish to retrieve, select it and click on the ‘Recover’ button.
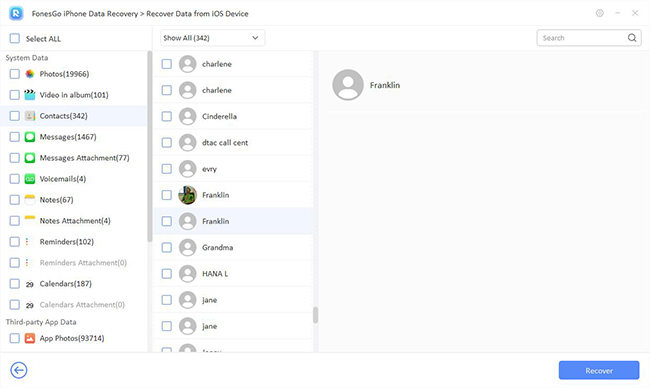
After the scanning process is complete, both existing and deleted data will be displayed for you to preview. This allows you to select the data you wish to recover precisely. You can utilize the search bar or filter function to locate specific data quickly.
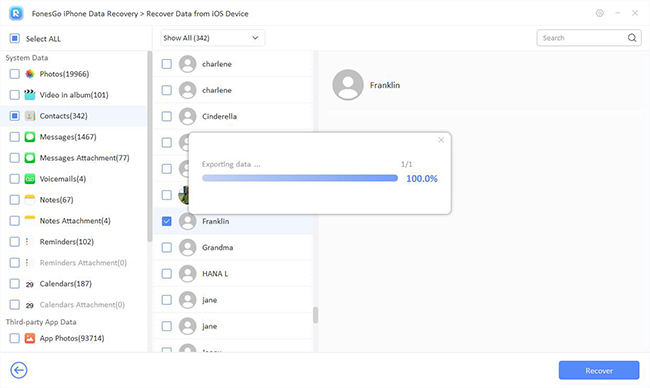
If the recovery is successful, click ‘OK’ to view the recovered data. The location of the recovered data will open automatically.
Part 2: Recover Deleted Data from iTunes Backup
If you’re hesitant to restore an entire iTunes backup for fear of overwriting the existing data on your device, FonesGo iPhone Data Recovery offers an ideal solution. This innovative tool allows you to selectively preview and retrieve data from your iTunes backups in less than 10 minutes, ensuring you get exactly what you need without compromising the current contents of your device.
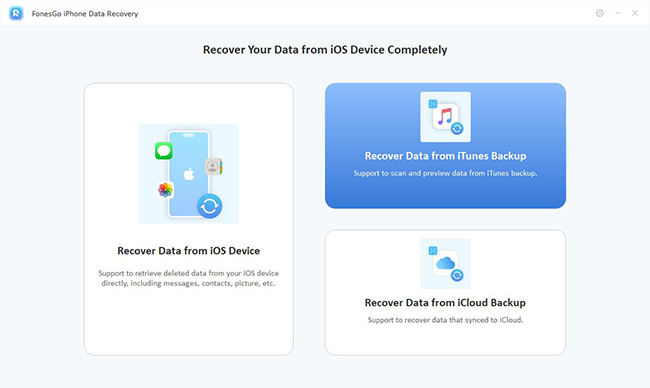
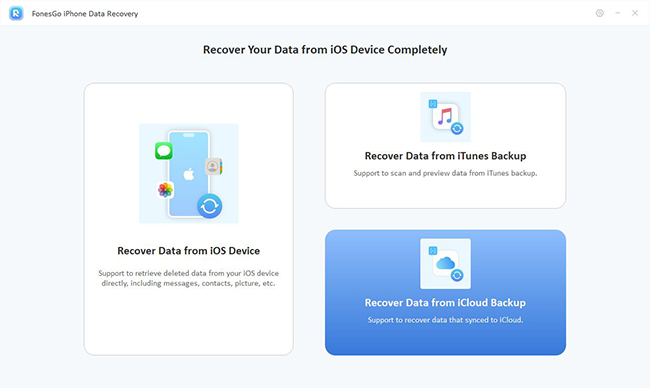
- Step 1 Open the program and choose ‘Recover Data from iTunes Backup’ on the main screen.
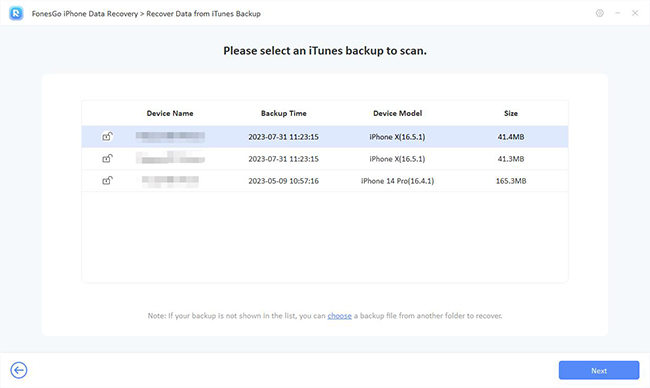
- Step 2 A list of your iTunes backups will appear. Choose the relevant one and click ‘Next’ to move forward. If your backup is encrypted, simply enter your password to allow the program to access the data.
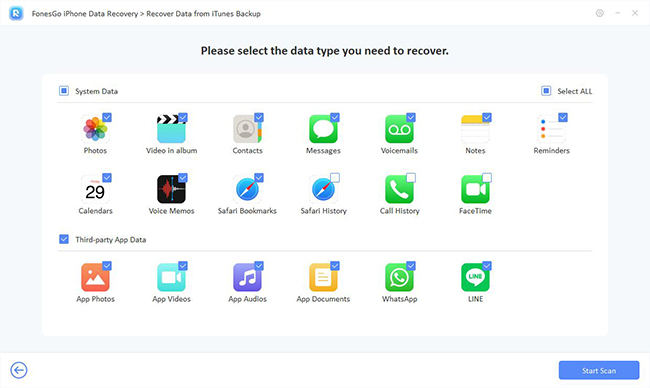
- Step 3 Decide which types of data you wish to retrieve and hit the ‘Start Scan’ button.
- Step 4 The program now starts a thorough scan of your backup. Note that the larger your backup, the longer this scan might take.
- Step 5 Browse through the scanned data, select what you need, and press the ‘Recover’ button. Now, sit back and wait for the magic to happen.
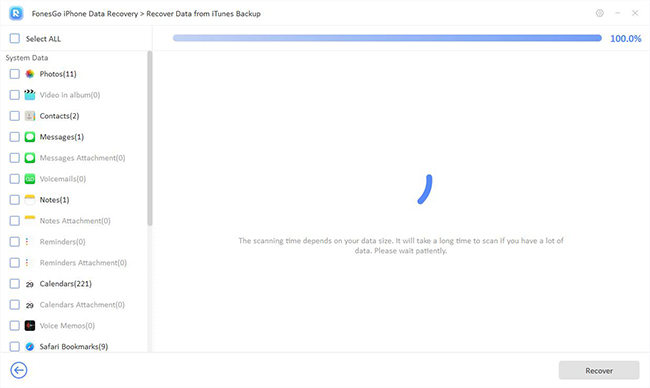
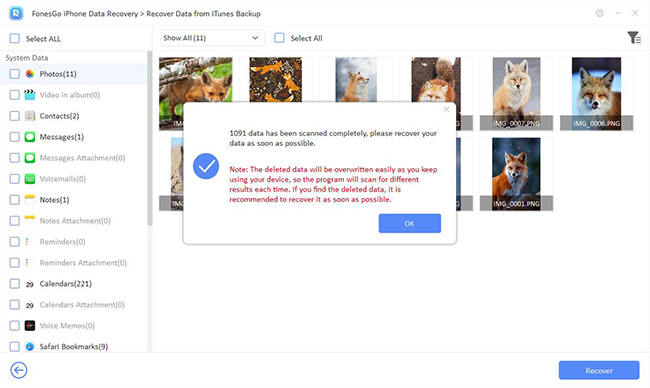
Once the scan is complete, a notification will show you the extent of data scanned from the backup.

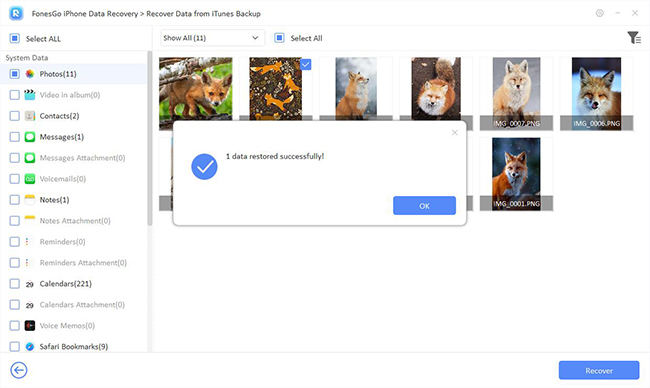
Congratulations! Your lost data is now recovered! Click ‘OK’ to explore what you’ve retrieved.
Part 3: Recover Deleted Data from iCloud Backup
Looking to retrieve or view data from iCloud? FonesGo iPhone Data Recovery is your go-to solution. This tool is adept at selectively recovering data from iCloud, all without the need for a factory reset. Plus, there’s zero risk of overwriting the existing data on your iOS device. It’s a seamless, worry-free way to access your important information from iCloud exactly when you need it.
- Step 1 To recover data from iCloud, open FonesGo and choose ‘Recover Data from iCloud Backup’.
- Step 2 Log into your iCloud account with your credentials.
- Step 3 Once in your iCloud account, choose the types of data you wish to recover and click ‘Download’.
- Step 4 FonesGo will then start scanning the data from your iCloud. The scanning time will depend on the amount of data on your iCloud.
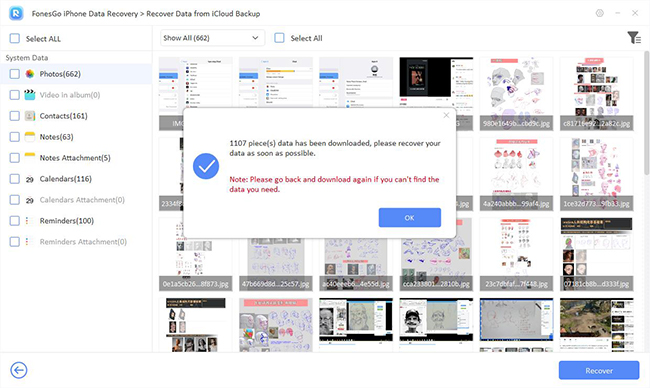
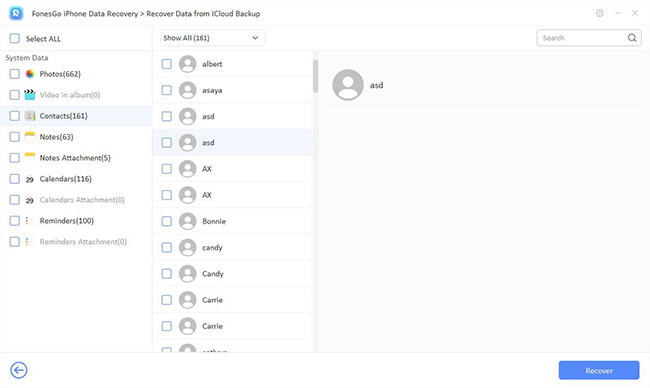
- Step 5 Now, select the data you intend to recover and click ‘Recover’.
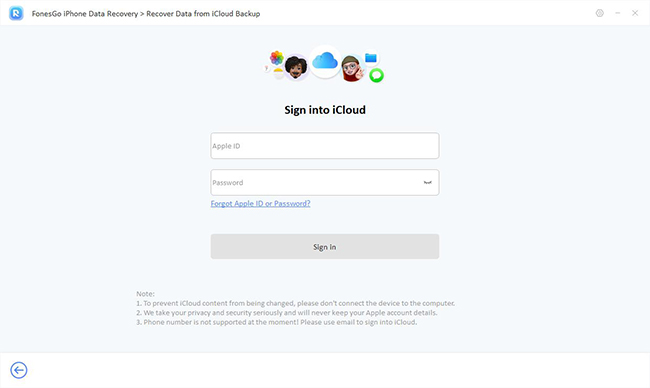
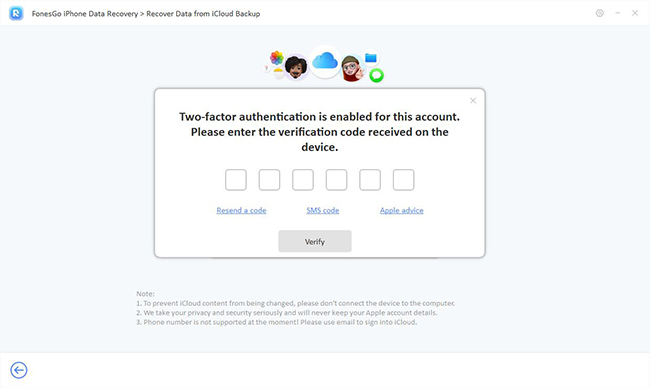
If your account is safeguarded with two-factor authentication, simply enter the verification code and hit ‘Verify’ to access your iCloud account securely.
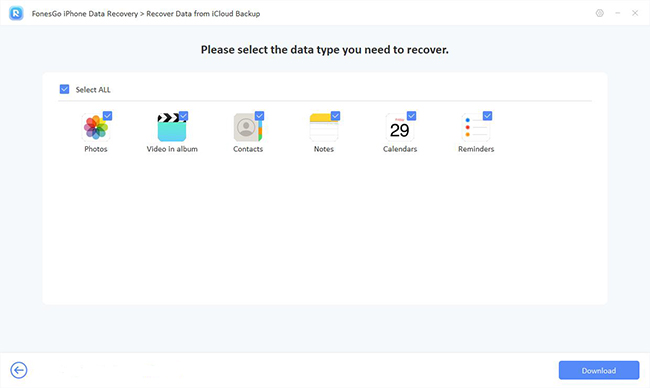
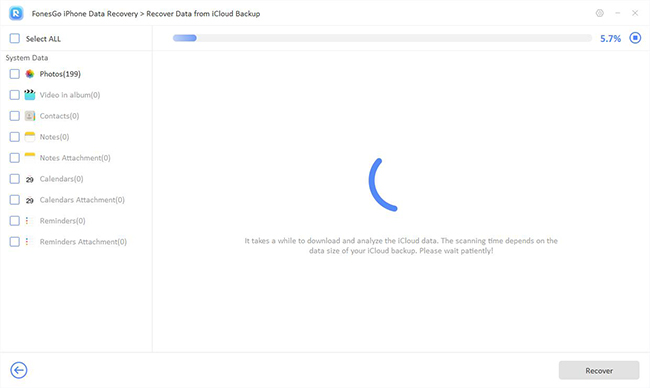
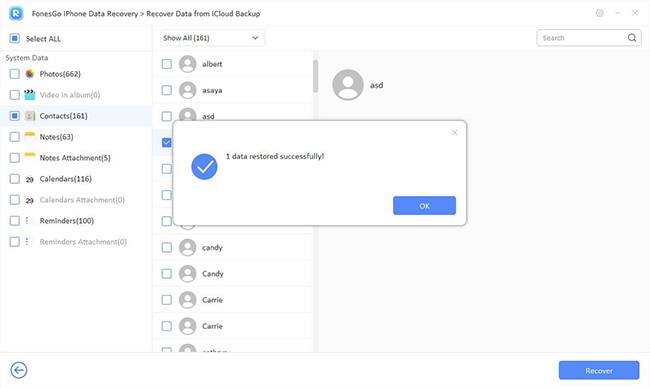
Upon completion, the program will display the count of data successfully downloaded. Click ‘OK’ to preview the data you’ve retrieved.
Congratulations! Your data recovery is complete, and your valuable information is now at your fingertips!
