Users might often encounter a failure in verification when attempting to log into your Apple ID. When it happens, signing in with your Apple ID might seem impossible despite all efforts. Don’t worry however, since this article will provide some solutions for the issue of your Apple ID verification code not working.
Part 1: Why Does Apple Ask for Apple ID Verification Code?
Apple employs a two-step verification process to enhance the security of your account. When signing in from a new device or browser, a verification code is sent to your trusted device or phone number to confirm your identity. This code serves as an extra layer of protection against unauthorized access to your account. Thus, it secures your account from unauthorized users and ensures exclusive access to your Apple services.
Part 2: How Can You Get Apple ID Verification Code?
If you’re experiencing issues with your Apple ID verification code, you can resolve the problem by requesting a new one. Below, you can find the steps to initiate the process.
2.1 Get Apple ID Verification Code on A Trusted Device
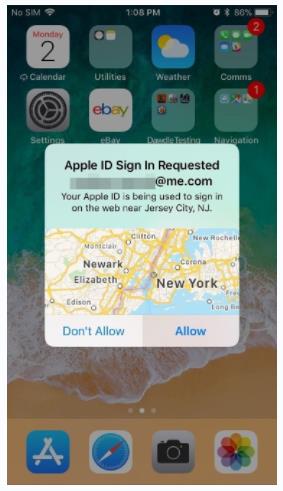
If you have a trusted device running iOS 9 or later, OS X El Capitan or later, iPadOS 13 or later, or watchOS 6 or later, the verification code is automatically displayed on your trusted devices.
Here’s how to complete the sign-in process:
- Sign in with your Apple ID and password on a new device or browser.
- Look for a sign-in notification on any of your trusted devices.
- Tap “Allow” to receive your verification code.
- Enter the verification code on your other device to finalize the sign-in.
2.2 Get Apple ID Verification Code via Phone Number
If you don’t have access to a trusted device, you can request a verification code to be sent to your trusted phone number through a text message or phone call.
Follow these steps:
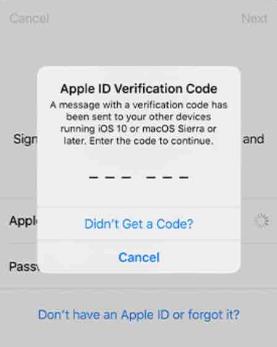
- On the sign-in screen, click on “Didn’t Get a Code?”
- Opt to have the code sent to your trusted phone number.
- Apple will send you a text message or phone call containing your verification code. The text message might contain an additional domain validation line, including the @ symbol, the website name, and your code (e.g., @icloud.com #123456 %apple.com).
- Enter the code received on your trusted phone number onto your other device to complete the sign-in process.
2.3 Get Apple ID Verification Code in Settings
If you are unable to automatically receive a verification code on your trusted devices, you can obtain one from Settings, even if your device is not connected to the internet.
If you have an iPhone, iPad, or Apple Watch, follow these steps:
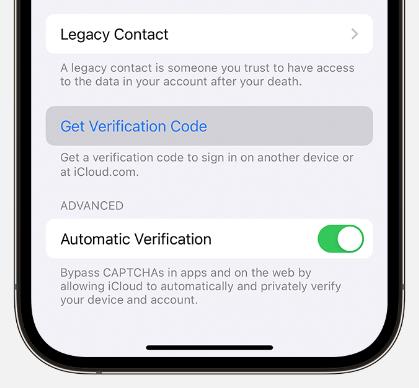
If your device is online:
- Navigate to Settings > [your name].
- Select Sign-In & Security > Two-Factor Authentication.
- Tap Get Verification Code.
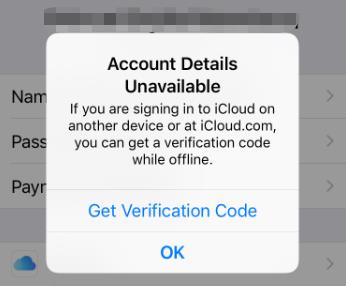
If your device is offline:
- Go to Settings > [your name].
- Tap Sign-In & Security.
- If a message appears stating “Account Details Unavailable,” tap Get Verification Code.
2.4 Get Apple ID Verification Code via Mac Computer
If you’re facing issues with your Apple ID verification code, there’s no need to worry. You can still obtain the verification code using a Mac. Here are the steps to follow if the Apple verification code isn’t functioning as expected.
- Go to the Apple menu > System Settings, then click on your name.
- Click Sign-In & Security > Two-Factor Authentication.
- Click Get a Verification Code.
Part 3: How to Fix Apple ID Verification Code Not Working?
There is no need to panic if your Apple ID verification stops working without any reason. There are some fixes you can try to solve the issue. However, before we start with the solutions, it is important to first make sure that Apple’s services are working as intended.
3.1 Check Apple System Status
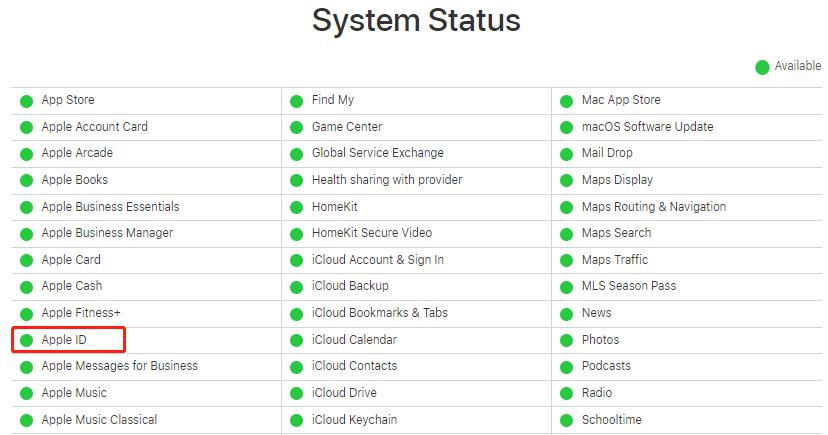
Visit the Apple Support System Status page to quickly identify service or system issues. The page provides real-time updates on the status of various Apple services, including the App Store, iTunes U, Game Center, and Spotlight Suggestions. A green indicator signifies normal functioning.
If a service is represented in yellow or red, it indicates an outage, requiring patience until Apple resolves the issue. Monitoring this status page helps users stay informed about the operational health of Apple services and provides insights into potential disruptions that may affect their experience.
3.2 Check Your Network
Apple services depend on a reliable internet connection, whether through cellular data or Wi-Fi. If your iPhone or any other Apple device lacks an internet connection, Apple services won’t function.
So when you encounter an error like Apple ID verification failed, the initial step is to verify your internet connection. Ensure your device is connected to the internet. Follow these steps:
- Open Settings and tap Wi-Fi.
- Confirm the switch next to Wi-Fi is green, indicating it’s active.
- Toggle the switch off and on to resolve potential software glitches.
3.3 Restart Your iPhone/iPad
This is an obvious one. The well-established method for resolving technical problems is to turn off your device and then restart it to troubleshoot the issue. So, give this a try. A straightforward restart might resolve the issue, but in some cases, a forced restart may be necessary.
After restarting your device, attempt to log back into your Apple ID. This simple action may solve the verification issue.
3.4 Update iOS
Keeping your iOS up-to-date is a recommended practice, especially when encountering an Apple ID verification code doesn’t work. To ensure your iPhone has the latest updates, follow these steps:
- Navigate to your iPhone’s Settings.
- Access the General section.
- Tap on Software Update, and proceed to download the latest available update.
3.5 Contact Apple Support
If the Apple ID verification problem persists, reaching out to Apple support is the next step. It’s possible that your Apple ID issue requires intervention from a specialized customer support representative. Apple offers support through online channels, phone assistance, and in-person appointments. If you intend to visit a local Apple Store, consider scheduling an appointment for personalized assistance.
Part 4: How to Unlock/Activate iPhone without Verification Code?
If you perform a factory reset on your iPhone or iPad without removing the associated Apple ID, you’ll be required to input the Apple ID and password to unlock and activate the device. However, if you encounter issues receiving the Apple ID verification code or the code isn’t effective, you may face problems when accessing the device. In such scenarios, you may require a tool to bypass the iCloud activation lock or unlock an iPhone tied to its owner. We suggest FonesGo iPhone Unlocker. This tool becomes crucial in situations where the typical verification processes are hindered, providing an alternative method to regain access to the device.
So if you’re uncertain about unlocking your Apple ID without verification or facing issues with a forgotten Apple ID password, there’s no need to worry, as FonesGo iPhone Unlocker is designed to address all your password-related concerns. This tool allows you to permanently remove your Apple ID while ensuring a seamless removal process. Known for its user-friendly interface, the application offers a hassle-free experience. Moreover, it enables users to continue enjoying iCloud and Apple ID services.
Follow the steps outlined below to utilize this application effectively to remove iCloud Activation Lock using a Windows computer.
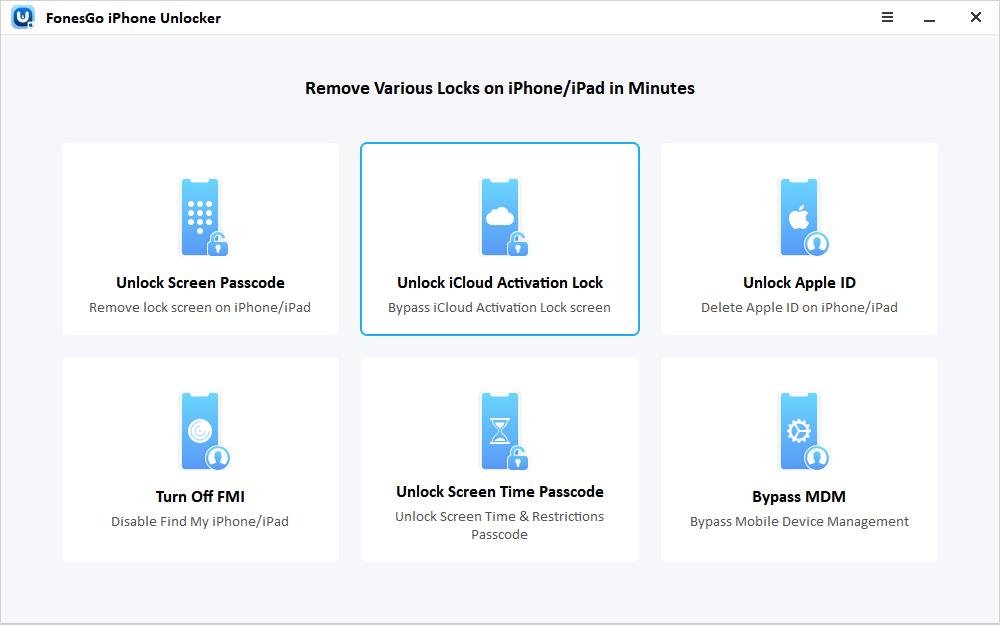
- Step 1 Connect your iCloud-locked iOS device to the computer via USB and launch the program. Select “Unlock iCloud Activation Lock.”
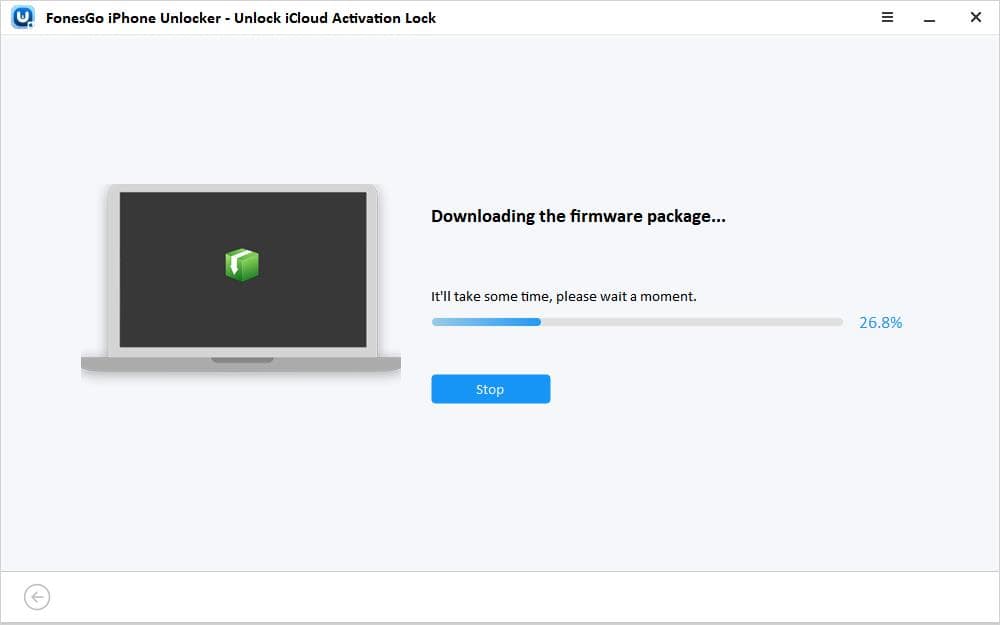
- Step 2 Download a firmware package, ensuring a stable network connection.
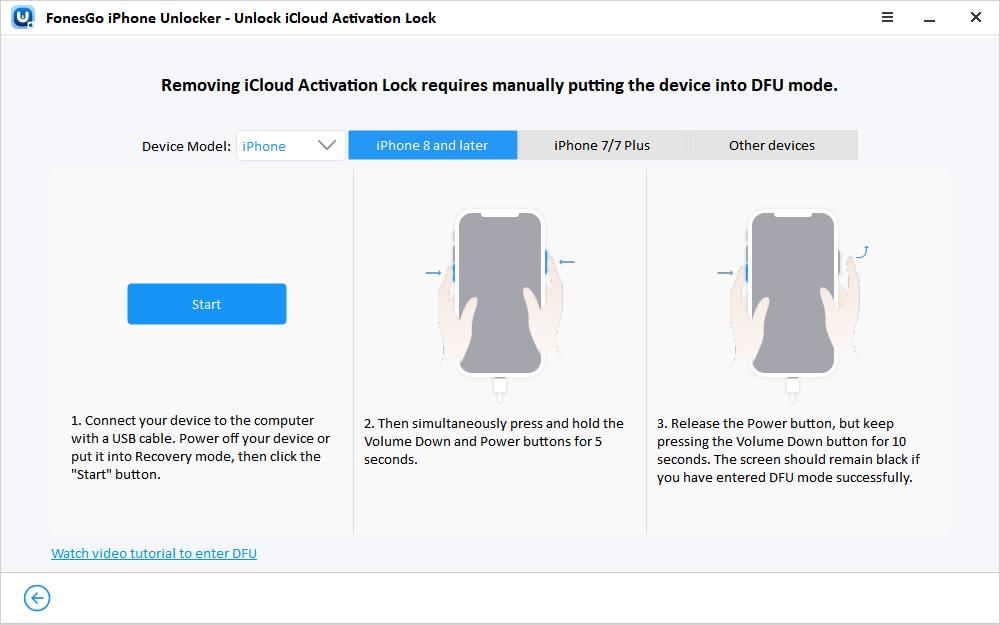
- Step 3 Once done, click “Remove Now” to put your iOS device into Recovery Mode, then manually enter DFU Mode.
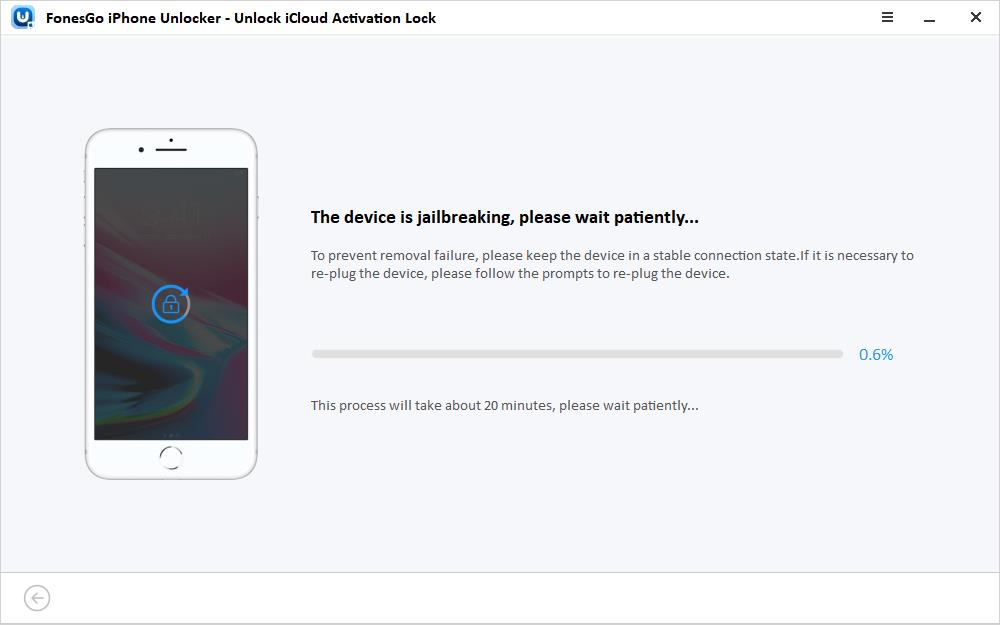
- Step 4 After successfully entering DFU Mode, the tool will jailbreak your device. Re-plug the device if prompted.
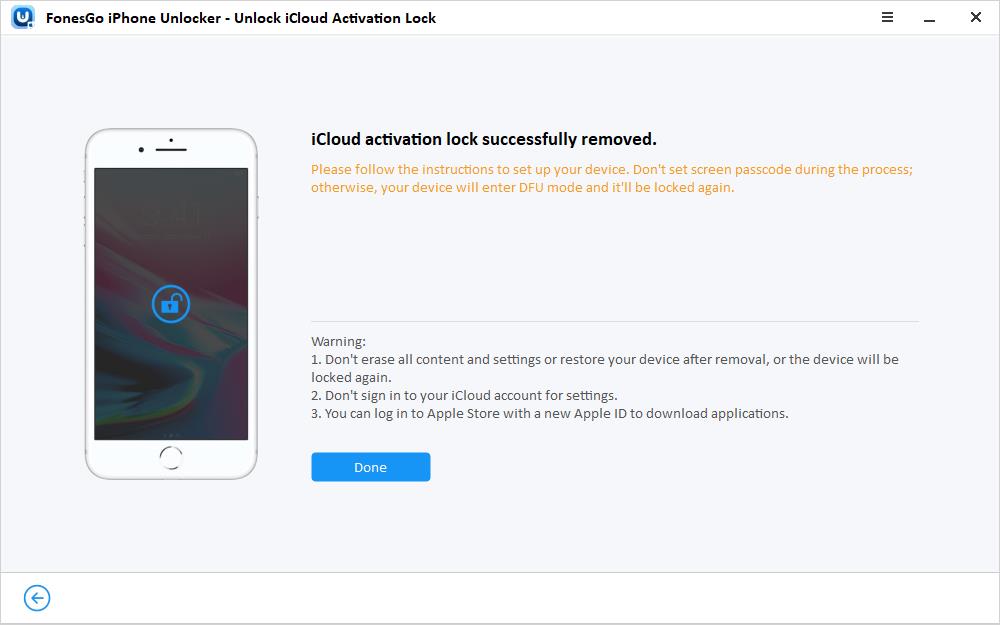
- Step 5 Enter DFU Mode again after the jailbreaking process. Once in DFU Mode, the tool removes iCloud Activation Lock within 1-2 minutes, and your iOS device restarts automatically.
Apple ID Verified
If you’re experiencing issues with your Apple ID verification code, you can explore the solutions we have mentioned in this article. If the issue persists despite attempting all the recommended solutions outlined in this article, please don’t hesitate to contact Apple support center.

